Whether you want to create a one-of-a-kind gift, promote your brand, or simply carry something that feels uniquely yours, designing a custom tumbler is one of the most rewarding personal projects you can take on. The good news? You do not need to be a professional artist or designer to pull it off beautifully.
At Black Hole Tumblers, we have helped hundreds of customers bring their tumbler visions to life. This step-by-step guide will walk you through everything — from picking the right tumbler to finalizing a design that turns heads every time you take a sip.
Why Custom Tumblers Are Worth It
A custom tumbler is more than just a drinkware choice. It is a statement. People use their tumblers every single day — at work, at the gym, on road trips, and at the dinner table. That means your custom design gets seen repeatedly, making it one of the most personal and practical items you can own or give as a gift.
Custom tumblers are popular for:
-
Personalized gifts — birthdays, weddings, bridesmaids, and holidays
-
Business branding — company logos on merchandise employees actually use
-
Team and school spirit — sports teams, clubs, and reunions
-
Memorial keepsakes — honoring loved ones with meaningful art
-
Event giveaways — conferences, charity walks, and fundraisers
The demand for personalized drinkware has exploded in recent years, and for good reason. A well-designed tumbler can last for years — meaning your design travels with its owner everywhere they go.
Step 1: Choose the Right Tumbler Size and Shape
Before you think about colors or artwork, you need to select the right tumbler. The size and shape determine how your design will look, how much surface area you have to work with, and what decoration methods are available to you.
Common tumbler sizes include:
-
20 oz Skinny Tumbler — Slim and sleek, great for single-side designs or minimalist text
-
30 oz Classic Tumbler — The most popular size, offering a wide canvas for detailed artwork
-
40 oz Wide-Mouth Tumbler — Maximum surface area, ideal for full-wrap panoramic designs
-
Kids’ Tumblers (12–14 oz) — Smaller canvas, best for simple icons, names, or fun characters
Shape matters too. Tapered tumblers (wider at the top, narrower at the bottom) create design challenges around the bottom edge because the surface curves more dramatically. Straight-sided tumblers offer a more uniform printing surface, which is especially helpful for full-wrap designs.
Pro Tip: If this is your very first custom tumbler, start with a 30 oz straight-sided option. It gives you the most flexibility in design and fits the widest range of cup holders and drinkware accessories.
Step 2: Pick Your Decoration Method
The decoration method you choose will directly impact the look, durability, and feel of your finished tumbler. Each method has its strengths, and the right choice depends on your design goals and budget.
Sublimation Printing
Sublimation uses heat and pressure to infuse ink directly into the tumbler’s coating, producing vibrant, full-color, photographic-quality designs that will never peel or crack. This is the best method for full-wrap designs, gradients, and photos. It requires a specially coated (sublimation-compatible) tumbler.
Laser Engraving
Laser engraving burns your design directly into the metal surface of the tumbler, creating a clean, permanent etching. It works beautifully for logos, monograms, and text. While it does not produce color, the results are elegant and extremely long-lasting. Popular on premium stainless steel tumblers.
Vinyl Decals (Cricut or Silhouette)
Vinyl cutting machines like the Cricut allow you to cut custom shapes and text from adhesive vinyl and apply them directly to the tumbler surface. This is a popular DIY method that allows for layering, color mixing, and creative experimentation. Vinyl designs are durable when properly applied and sealed.
UV Printing
UV printing applies full-color ink directly onto the tumbler surface and cures it instantly with ultraviolet light. The result is a sharp, durable print that can handle complex artwork and photographs without needing a special coating on the tumbler.
Waterslide Decals
Waterslide decals involve printing your design onto a special transfer paper, soaking it in water, and sliding the image onto the tumbler surface. It is a budget-friendly option great for detailed, full-color artwork when sealed properly with epoxy.
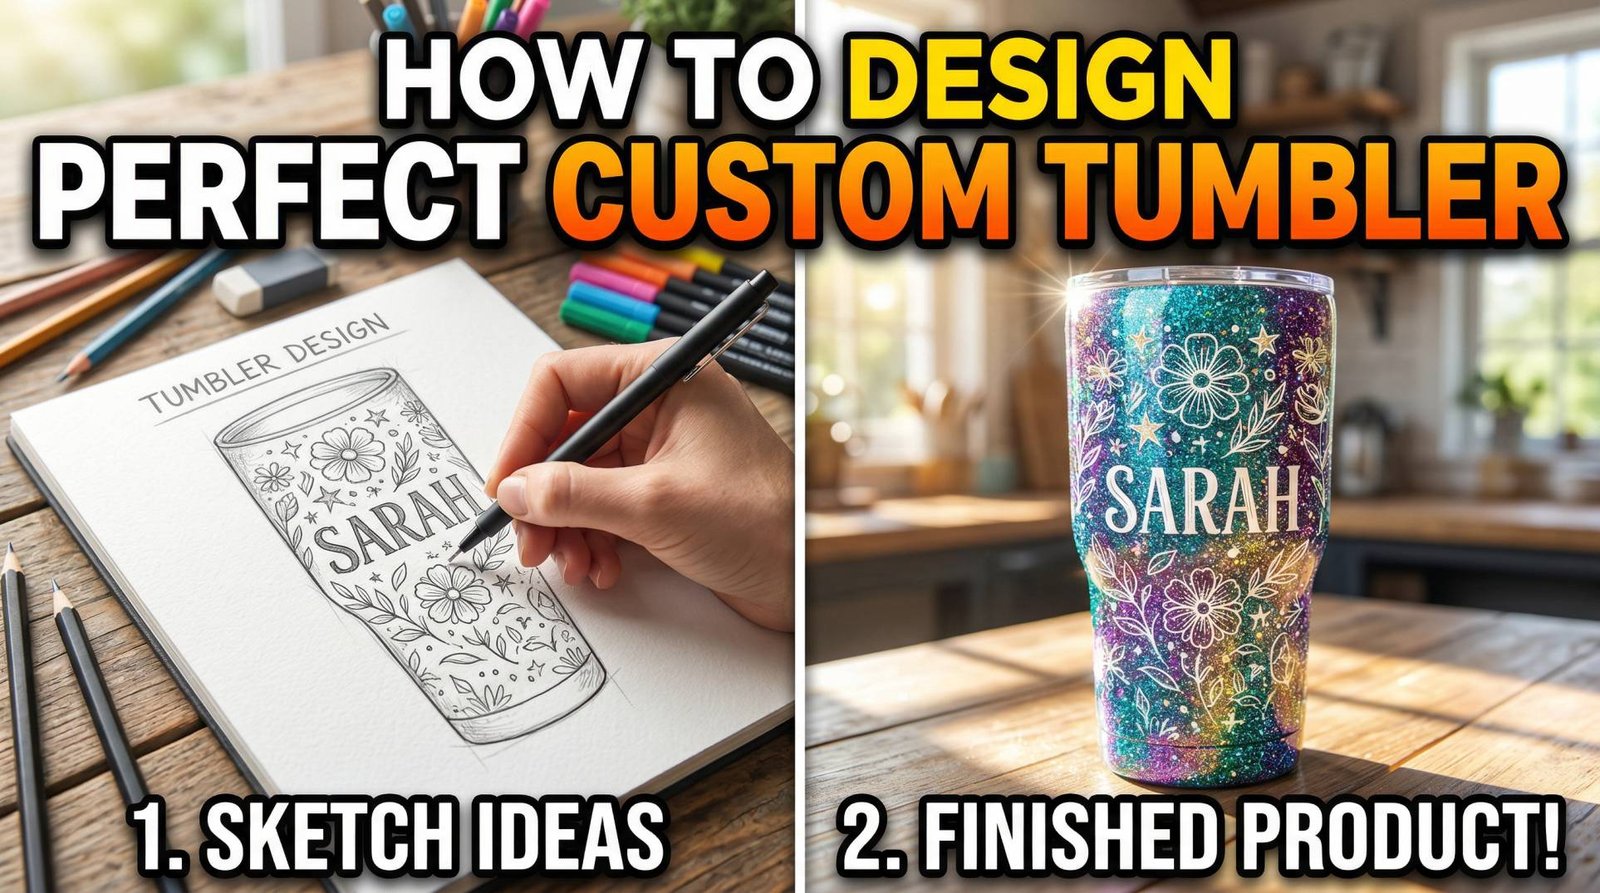
Step 3: Create Your Design
This is where the creative magic happens. Even if you have never designed anything before, there are tools and approaches that make this process enjoyable and approachable.
Design Tools for Beginners
-
Canva — Free, browser-based design tool with templates specifically for tumbler wraps. Ideal for sublimation designs.
-
Cricut Design Space — Purpose-built for vinyl cutting projects. Easy drag-and-drop interface with thousands of ready-made graphics.
-
Adobe Illustrator or Photoshop — More advanced, but offer the most control for professional-quality output.
-
Google Slides or PowerPoint — Surprisingly effective for simple text-based designs if you are just getting started.
Design Principles That Actually Work
1. Keep it bold and readable. Tumbler surfaces are curved and relatively narrow. Thin, intricate fonts and tiny details can get lost. Stick with bold lettering and high-contrast color combinations for maximum visual impact.
2. Match your layout to your coverage area. Decide early whether you want a full-wrap design (360° coverage), a centered front design, or an accent placement (a small design on one side). Each layout has a different template size. For a standard 30 oz full-wrap sublimation, most templates are approximately 9.2 inches wide by 8.3 inches tall.
3. Watch your seam line on full wraps. When designing a 360° wrap, the left and right edges of your design will meet on the back of the tumbler. Make sure the pattern or imagery aligns cleanly at that seam. Seamless patterns and panoramic scenes work best here.
4. Use colors that match your purpose. Soft pastels work well for bridal party gifts, bright primaries pop for kids’ tumblers, and deep jewel tones convey elegance for corporate gifts. Think about the end user and the emotion the tumbler should evoke.
5. Leave breathing room. Avoid placing important design elements too close to the top or bottom edges. Most tumblers have a small border at the rim and base where the coating ends and printing does not reach.
Step 4: Prepare Your File for Production
Once your design is ready, it needs to be formatted correctly before it can be printed or cut. Submitting a poorly prepared file is the number one reason beginners end up with disappointing results.
File format guidelines:
-
Sublimation and UV printing: Submit your design as a high-resolution PNG or PDF at 300 DPI or higher. RGB color mode is standard for sublimation.
-
Vinyl cutting: SVG files are preferred for Cricut and Silhouette machines because they scale without losing sharpness.
-
Laser engraving: Black-and-white PNG or vector SVG files with high contrast work best. Grayscale images engrave with varying depths based on the shade.
Always review a digital mockup before finalizing your order. A 360-degree mockup preview lets you see how the design will look wrapped around the actual tumbler shape, which helps catch alignment issues, awkward text placement, or colors that do not translate well on the tumbler surface.
Step 5: Seal and Protect Your Design
For DIY methods like vinyl and waterslide decals, sealing is a critical final step that most beginners skip — and then regret. An unsealed tumbler design is vulnerable to peeling, scratching, and water damage.
Two-part epoxy resin is the gold standard for sealing DIY tumblers. When mixed and applied correctly, it creates a thick, glass-smooth, highly durable coating that protects your design and gives the tumbler a premium professional finish. Apply it with a brush while the tumbler rotates on a turner to ensure even coverage, then allow it to cure for at least 24–48 hours.
For vinyl-only designs where you prefer a thinner finish, a tumbler-safe clear coat spray can offer light protection, though it is not as durable as epoxy.
Sublimation and laser-engraved tumblers do not require sealing — the design is either infused into the coating or etched into the metal itself.
Common Beginner Mistakes to Avoid
Even with the best preparation, a few pitfalls catch most first-timers off guard:
-
Low-resolution images: Blurry photos and logos look terrible when printed. Always use the highest resolution image available.
-
Wrong template size: Every tumbler has a specific template dimension. Using a generic template almost always leads to misalignment.
-
Skipping surface prep: Always clean your tumbler with rubbing alcohol before applying vinyl or any adhesive material. Oil and fingerprints prevent proper adhesion.
-
Rushing the epoxy: Epoxy that has not been given enough time to cure properly can remain tacky, yellow unevenly, or develop bubbles.
-
Ignoring the lid: Many people design the body of the tumbler and forget about the lid. A matching or complementary lid design can elevate the entire finished piece.
Ready to Create Your Perfect Custom Tumbler?
Designing a custom tumbler is a skill you will improve with every project. Your first tumbler may not be perfect — and that is completely fine. Every small adjustment you make teaches you something new about proportions, color, and technique.
If you would rather skip the trial and error and go straight to a professionally finished product, Black Hole Tumblers is here to help. Our team works with you from concept to completed tumbler, ensuring every detail — the color, the layout, the finish — is exactly what you envisioned.
📞 Call us today at (417) 212-0011 and let’s bring your perfect custom tumbler to life.